Double-deckers are awkward subjects. They are tall and narrow, glazed on two levels, and almost always surrounded by the street furniture they were built to serve. A shot that looked perfect through the viewfinder can come back with a white sky reflected in the upper windows and the roof sliced off at the top. The good news is that the same problems come up again and again, and most of them have straightforward fixes. Here are the ones worth fixing first.
Cutting the Roof Off
The most common double-decker mistake is treating the bus like a car. Frame it the way you would a hatchback and the top deck will not fit. At close range on a 50mm lens, a full-height bus simply will not squeeze into the frame.
Step back first, and only then decide on your lens. If you want one bus filling the picture, turn the camera vertically. Vertical framing suits a vehicle that is more than four metres tall and roughly two and a half wide. If you want the bus in its street, stay horizontal and give yourself room on both sides so the composition breathes.
Then check all four corners before you press the shutter. A missing front wheel arch or a sliver of roof cut off at the top edge is far more noticeable than a slightly smaller bus in the frame. There is no penalty for leaving headroom; there is one for clipping the roof.
Blur: Shutter Speed, Panning and the Moving Subject
Blur comes from two places: your hands and the bus. A stationary bus at a terminus in flat light can be shot at 1/60 if you are steady. The same shutter speed aimed at a bus accelerating towards you will produce a smear every time.
As a working guide, think in terms of what the bus is doing, not what the light allows:
- 1/1000 or faster: bus approaching head-on at speed, especially with a long lens pointed at the front end.
- 1/500 to 1/250: bus crossing your view, mostly side-on, ordinary daylight.
- 1/125 to 1/60: deliberate panning, where you follow the bus and let the background streak. The bus stays sharp, the street turns to motion.
- 1/30 and slower: a tripod and a parked bus. Handheld, this is a gamble.
Burst mode helps more than you would expect: one frame in a run of five is usually noticeably sharper. Brace yourself against something solid, but not against a bus shelter that vibrates when a vehicle passes. And avoid shooting through the window of a moving bus, which stacks your own movement on top of the subject's.
Window Glare and Reflections
Two decks of glass mean two decks of reflections, and this is where many otherwise good photos fail. Typical damage includes a blown-out white sky where the upper-deck seats should be, a reflected building hiding the passengers entirely, and a clear image of you holding the camera.
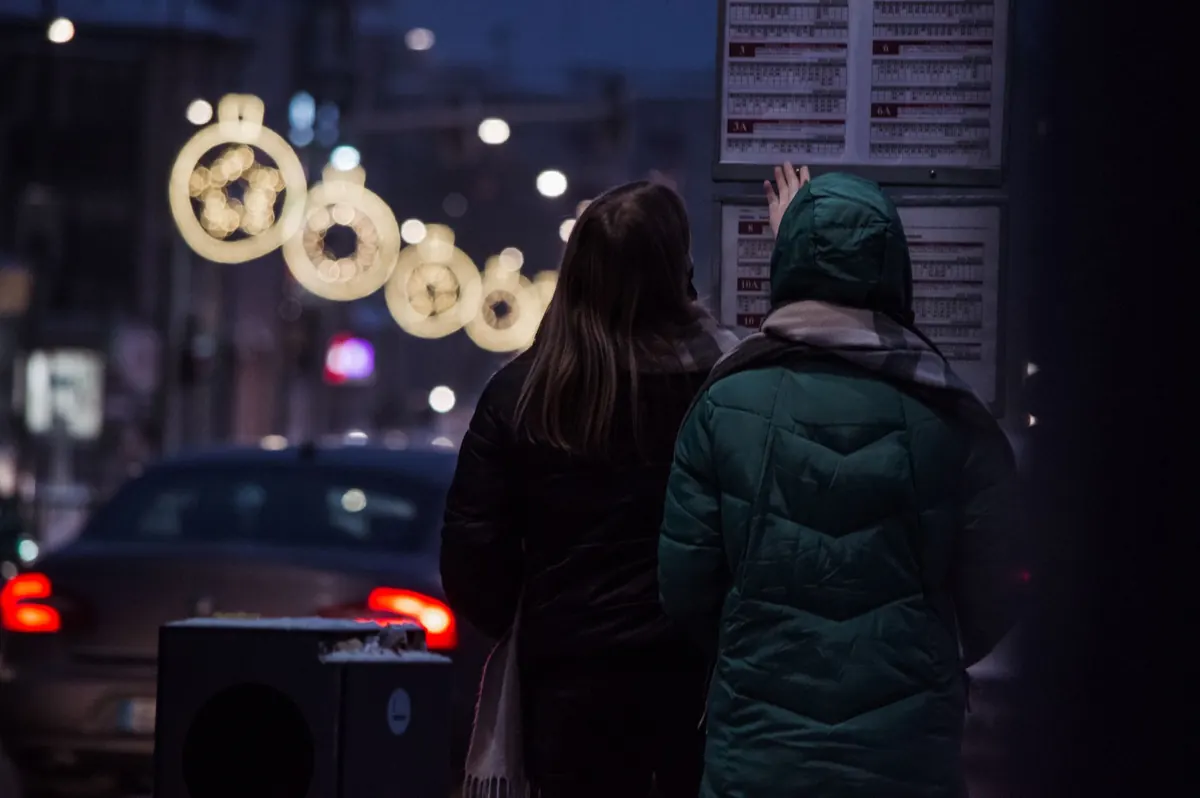
Glare is strongest when you are standing at the mirror angle, so the single most effective fix is to move. Take two steps sideways, or shoot from slightly below or above the glass rather than square-on. A circular polarising filter often helps and is worth rotating until the reflections drop; accept that it costs you a little light. At night the same glass becomes an asset, because lit interiors glow against a dark street.
Flash rarely helps here. It bounces straight back off the windows and lights up the dirt on the glass. If the reflections are clean and show an interesting skyline, though, consider making them the point of the picture rather than fighting them.
Cluttered Backgrounds and the Wrong Vantage Point
Look at a typical failed double-decker shot and you will often find a lamp post growing out of the roof, a traffic light emerging from the destination blind, or a row of bins along the bottom edge.
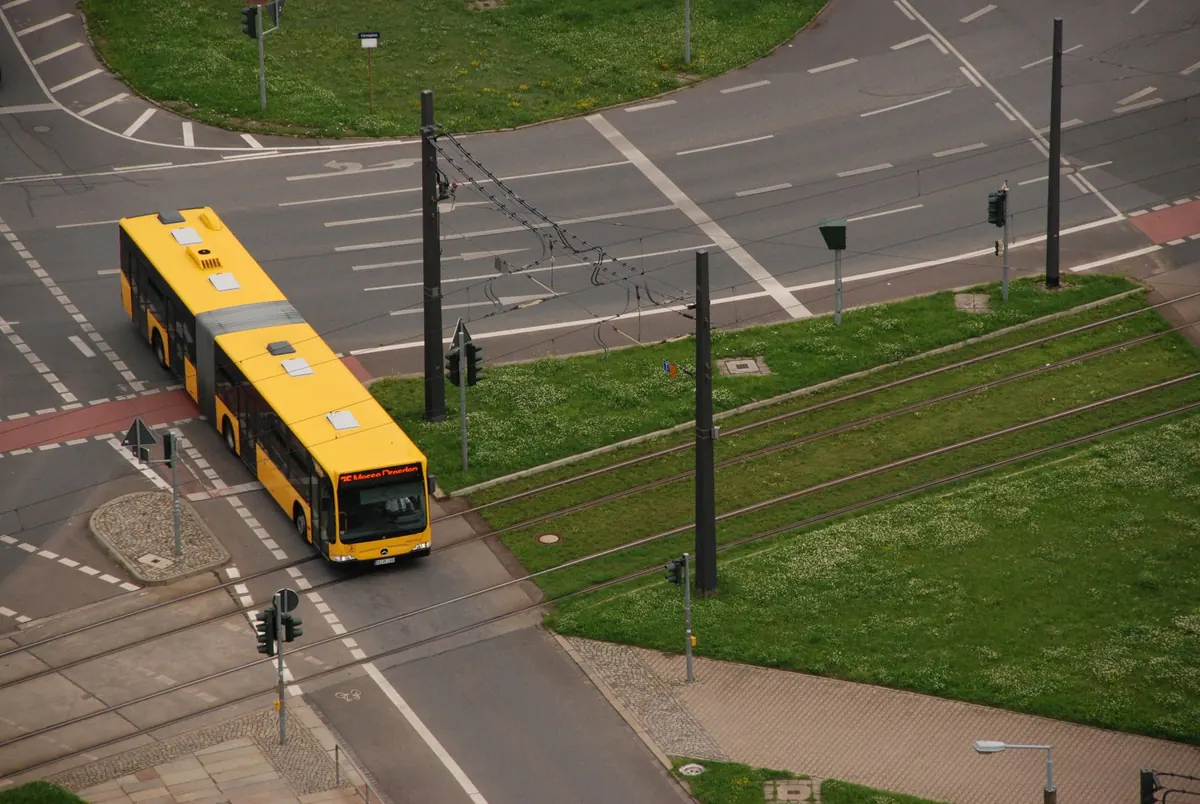
Two steps left or right usually solves it. Failing that, change height. Double-deckers suit elevated vantage points, so a bridge, a station footbridge or the upper floor of a car park can give you a clean angle over railings, hedges and parked cars. A high angle flattens the bus and shows its length; a low angle makes it loom. Decide which effect you want instead of accepting whatever the pavement gives you.
When you cannot move, wait. Buses pass in a rhythm, and the gap between two pedestrians is often only a few seconds away. Plain backgrounds, such as a large wall, trees or an unbroken sheet of sky, flatter a livery far better than a busy crossroads.
Light, Timing and the Wrong Side of the Bus
Shooting with the sun in front of you turns the bus into a silhouette and tempts the meter to expose for the bright sky, leaving the body dark. Keep the sun behind you or just over your shoulder where you can. Overcast weather is genuinely useful: it softens shadows, holds detail in white and cream liveries, and reduces window glare. The first and last hour of daylight gives warm light and long shadows, while harsh midday sun throws dark bands under the upper deck and blows out pale roofs.
If you must shoot into the light, use spot metering on the bodywork or dial in some negative exposure compensation and lift the shadows later. Whichever you choose, check the destination blind and the fleet number in the frame; a beautifully lit bus with an unreadable blind is an incomplete record.
Details That Separate a Record Shot From a Snapshot
Before you walk away, run through a short checklist. It takes ten seconds and it saves a return trip.
- Whole bus in frame, roof included, wheels not clipped.
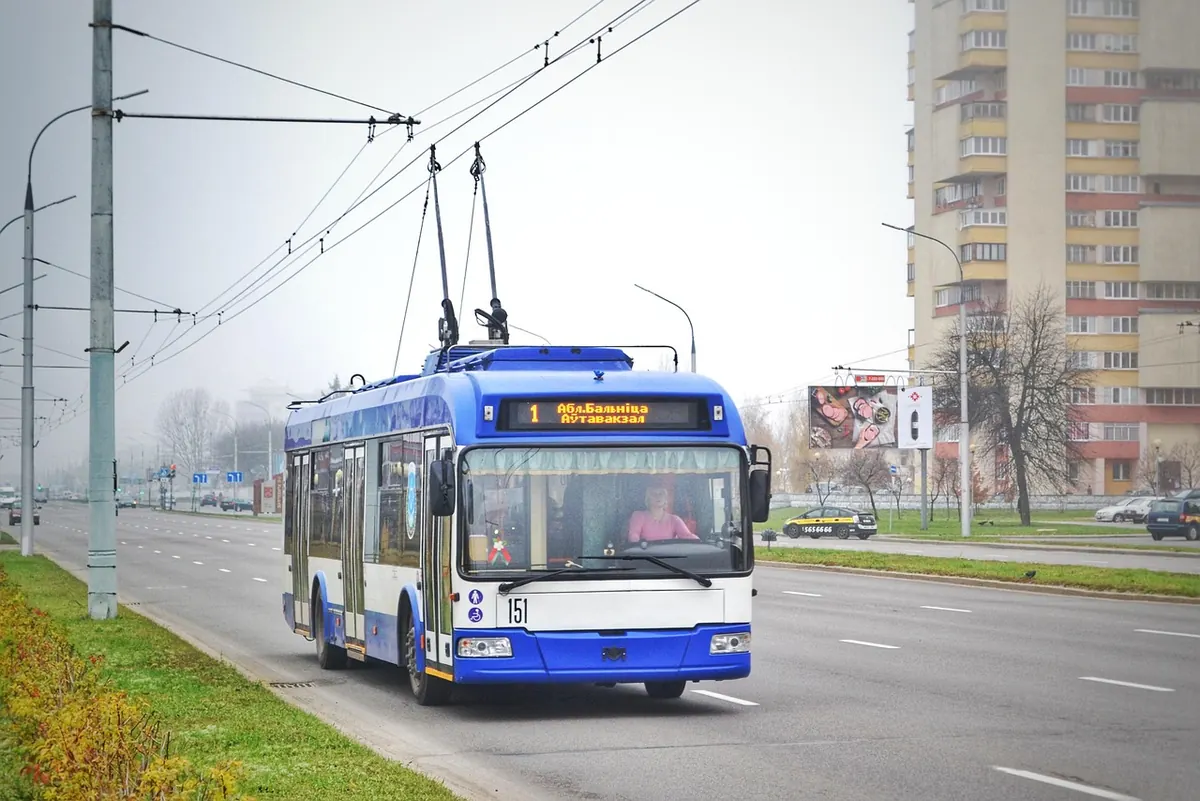
- Destination blind readable, even if you must shoot from further back.
- Registration and fleet number visible and in focus.
- Horizon level. Vertical lines in the background will betray a tilt instantly.
- A second angle: a front three-quarter and a rear three-quarter of the same bus.
- One extra frame after you think you are done. Buses move; your best shot is often the next one.
Practise One Stop at a Time
Pick a single busy stop or a good stretch of road and photograph the same route for a few afternoons. You will learn which vantage point works, where the shadows fall at three o'clock, and how slow you can push the shutter before a moving bus blurs. Compare your frames afterwards and change two things at a time: a wider crop, a faster shutter, a different position relative to the glass.
Keep the editing simple, too. Straighten, crop, lift the shadows, and leave the colours as close to the real livery as you can. Double-deckers are striking enough without help. Get the framing, timing and reflections right in the camera and the pictures will hold up long after the bus has gone.
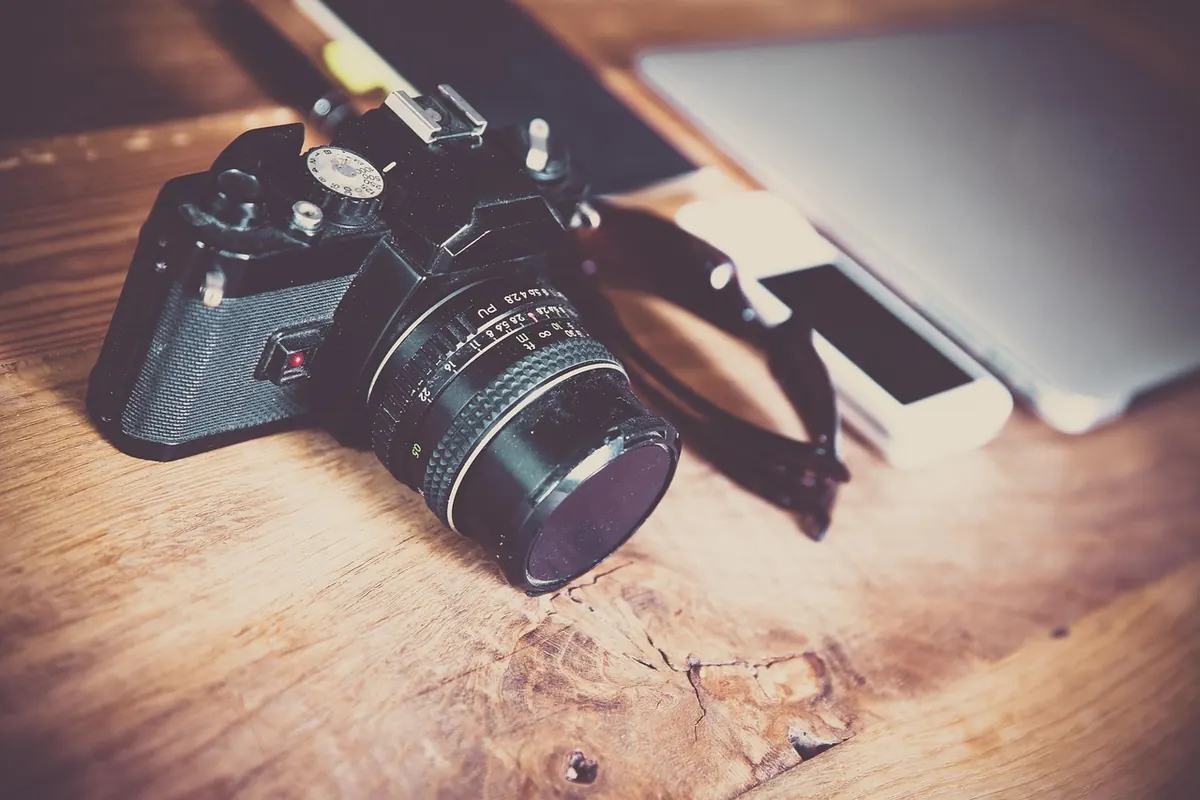
Photo: markusspiske / Pixabay