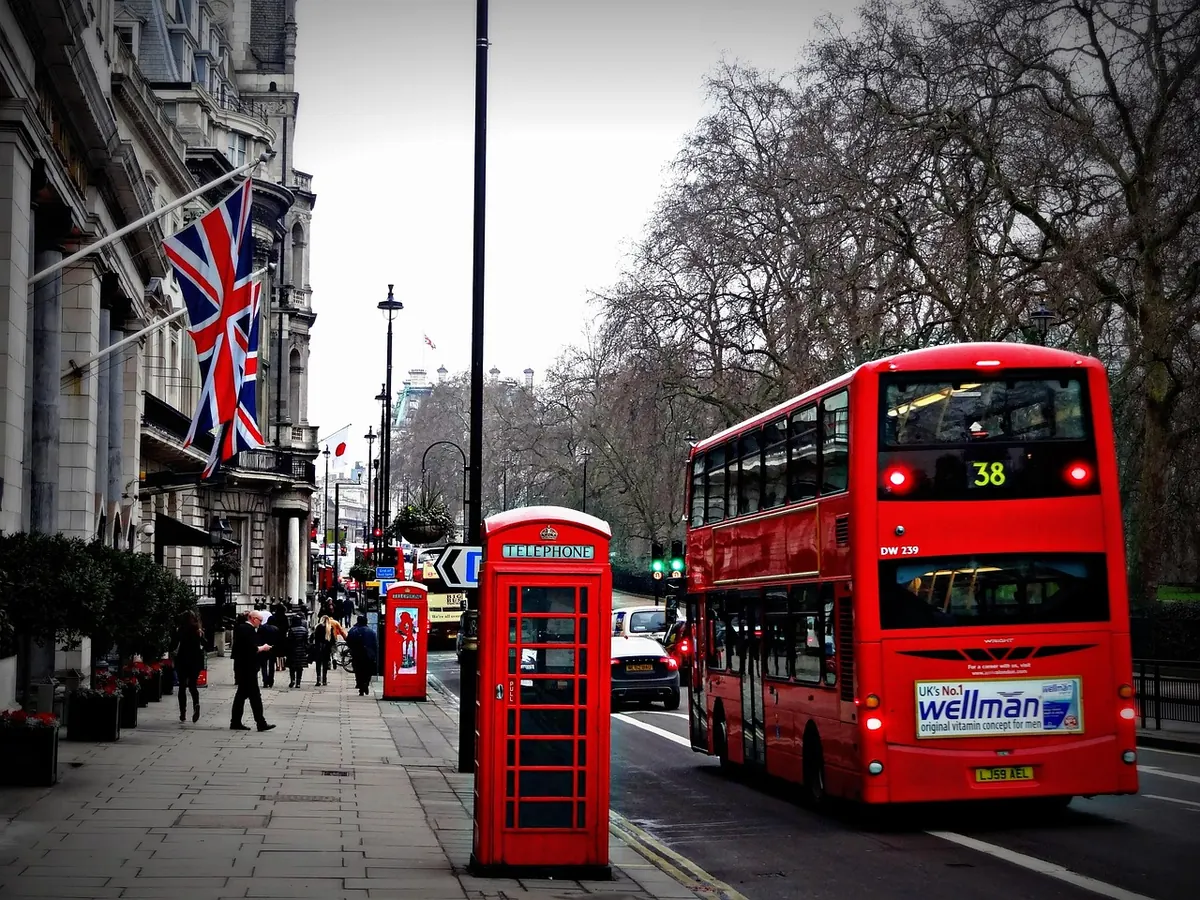
A double-decker at 20 mph is a two-storey problem. You have a tall subject, a moving target, and a narrow window between lamp posts, parked cars and pedestrians. Get it right and the picture has a weight and scale that a single-decker simply cannot match. The good news is that buses are creatures of habit: they follow set routes, stop at the same corners and lean the same way into the same bends. These ten tips cover the settings, positions and timing habits that make those moments land.
Start With the Shutter Speed
Everything else follows from shutter speed, so set it first and let the camera sort out the rest. For a fully frozen bus with crisp lettering on the side, try 1/1000 sec. For a bus coming towards you, 1/500 sec is usually enough because the approach speed is lower in the frame. Side-on, 1/250 sec keeps the body sharp while the wheels carry a little rotational blur — that tiny bit of movement is what stops the image looking like a parked bus on a poster.
Aperture comes second. Somewhere around f/5.6 to f/8 keeps the whole vehicle, front to back, acceptably sharp. Save f/2.8 for deliberate background separation, and only when you trust your focus. Then let auto ISO run with a ceiling you are comfortable with — 3200 or 6400 on most modern bodies. A noisy sharp frame beats a clean blurred one every time, and noise is far easier to deal with later than motion smear.
Menu Settings Worth Changing Before You Leave
A few minutes in the menu pays off all afternoon:
- Continuous autofocus (AF-C or AI Servo) with a wide or zone area, so the camera keeps tracking as the bus grows in the frame.
- High-speed burst, roughly 5–10 frames per second. Three frames from a moving bus gives you three chances at a clean expression, blind and destination.
- Back-button focus if you shoot through railings or between parked cars, where the camera is tempted to lock onto the obstruction.
- Stabilisation in panning mode — usually Mode 2 on the lens barrel. Standard stabilisation fights your horizontal movement and softens the shot.
- Raw files, so you can lift a dark windscreen or pull back a blown white roofline.
One more trick: pre-focus. Pick a spot on the road the bus will definitely cross — a drain cover, a painted line — focus there, switch to manual focus, and fire as the front wheel arrives. It is the oldest motorsport technique there is, and it costs nothing.
Learn to Pan Properly
Panning is where most bus photography either sings or falls apart. Stand square to the road with your feet slightly apart, and rotate from the waist, not from the arms. Start following the bus well before it reaches you, keep following after you release the shutter, and let the burst run through the pass. At 1/80 or 1/125 sec you will get a streaked background and a readable side panel.
- Choose a background with vertical lines — railings, windows, a wall — rather than a flat grey mass.
- Set 1/80 sec, continuous AF, and burst mode.
- Turn your torso towards the bus as it approaches, keeping it in the same part of the frame.
- Squeeze the shutter as it draws level, and keep panning for a full second afterwards.
- Expect a low hit rate. One sharp frame in ten is normal, and worth it.
Find a Vantage Point With Height
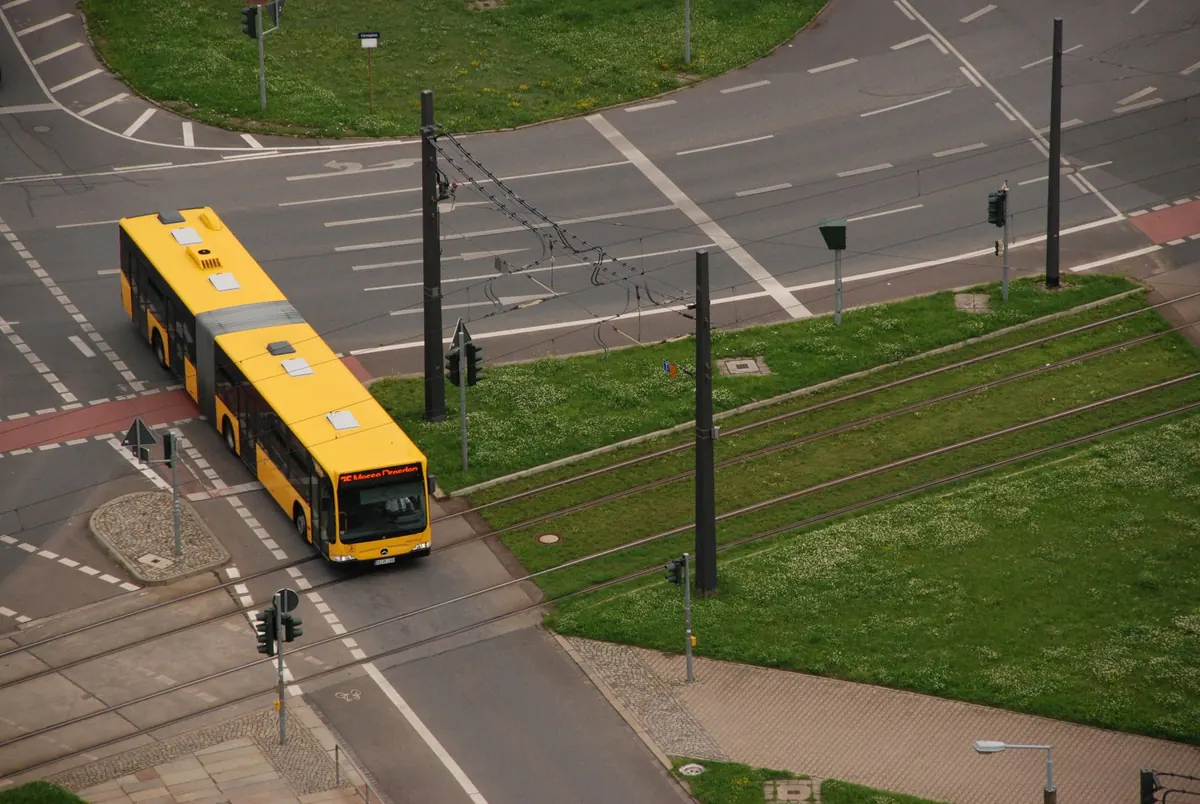
The single biggest improvement to most bus pictures is standing a little higher. A few steps up a stairway, a low bridge parapet or a station footbridge puts your lens roughly level with the upper deck windows, which is where the passengers, the adverts and the character of the vehicle actually live.
Other reliable positions: the far pavement with a longer lens, which compresses the bus against the buildings behind it; a busy junction corner, where you get the classic three-quarter front view as the bus turns; and behind the bus, which is underrated for rear advertising, route blinds and that distinctive upper-deck tail. If you want to shoot inside a bus station or depot, ask staff first. A polite request usually gets a yes, and it keeps everyone safe.
Read the Route and Time the Shot
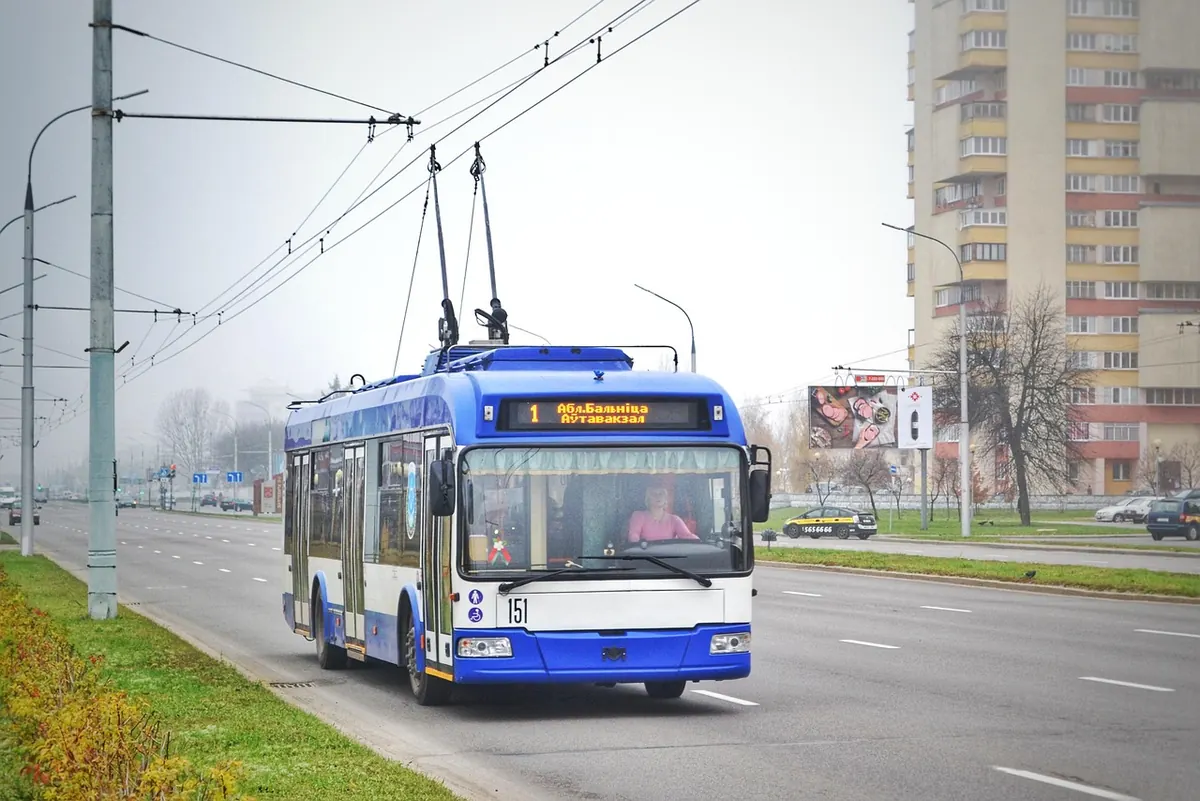
Buses announce themselves. A bus slowing for a stop or a red light gives you a much longer window than one cruising past, and a bus pulling away from a stop gives you the front three-quarter angle with the destination blind legible. Learn two or three routes near you and note where they bunch, where they pause, and which side the sun hits at different times of day.
Watch the driver's line of sight too. If they have seen you and the camera, they often steady the bus slightly through a bend, which is a small gift. If they have not, keep your distance from the kerb and never step into the road for the sake of a frame.
Frame a Tall Vehicle Deliberately
A double-decker is nearly twice as tall as it is long in visual terms, so a default horizontal frame leaves a lot of dead pavement. For a single bus, try a vertical or squarer crop — 4:5 works well — and leave space in front of the vehicle so it has somewhere to travel. Go horizontal when you want context: a terrace of houses, a queue at a stop, two buses of different eras passing each other.
Check the background before the bus arrives. A lamp post sprouting from the roof or a tree growing out of the upper deck ruins an otherwise good frame. Move two steps left or right and it disappears.
Practice on a Route You Know
Pick one stop near home and go back three or four times in different light. Take sixty frames in half an hour, keep two, and note the shutter speed and position of the ones that worked. Repetition on familiar ground teaches timing faster than chasing new locations, because you stop thinking about where you are and start watching the bus. Take a spare battery, dress for the weather, and stay off private property. The best bus photographs come from patience, not luck.
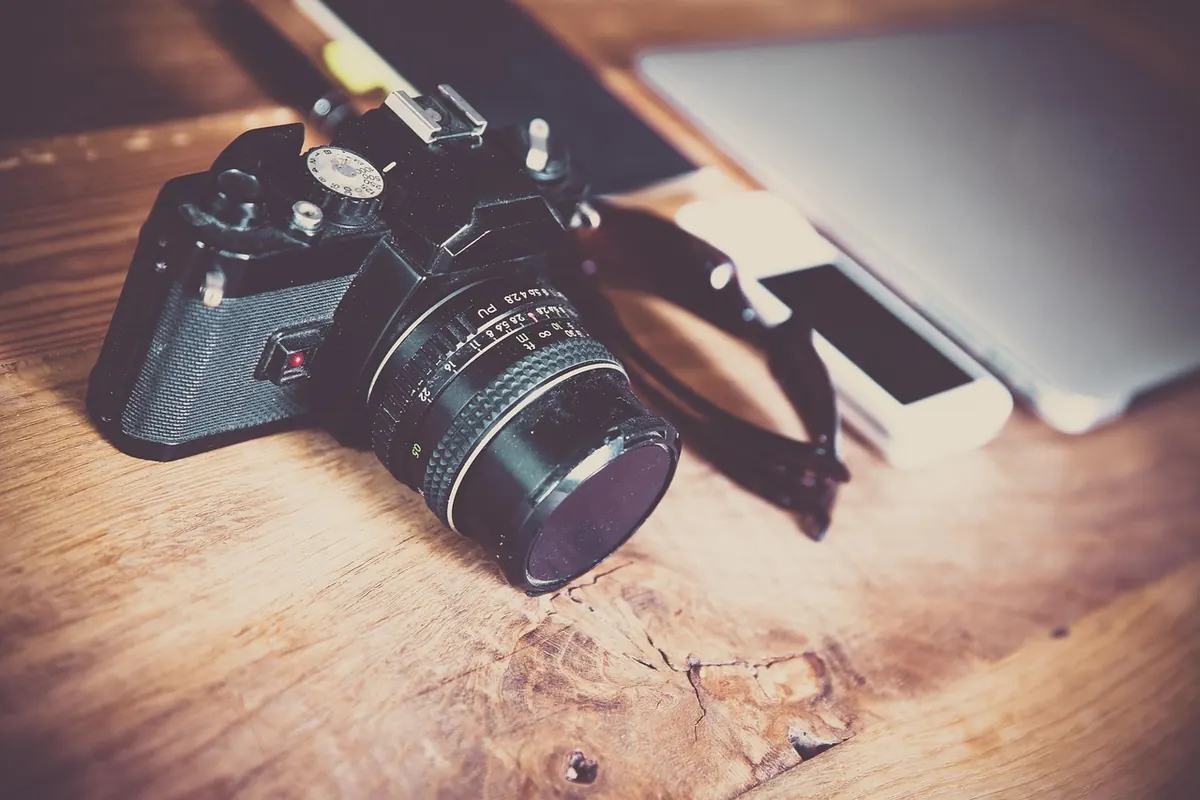
Photo: paulohabreuf / Pixabay